I started hand brushing it last night, but it wasn't turning out like I wanted, so I ended up airbrushing since I can get a smoother finish with it. I like the way it turned out. Tonight I bought a couple new brushes after work and they were put to good use adding a few highlights and shadows, as well as touching up the eyes. I'm excited about this piece! The pics really don't do it justice. :(
Monday, March 21, 2011
Verthandi - Burning Ice - Flesh
The flesh tones are done for the most part. I might touch it up a little, but that's about it.
Sunday, March 20, 2011
Verthandi - Burning Ice
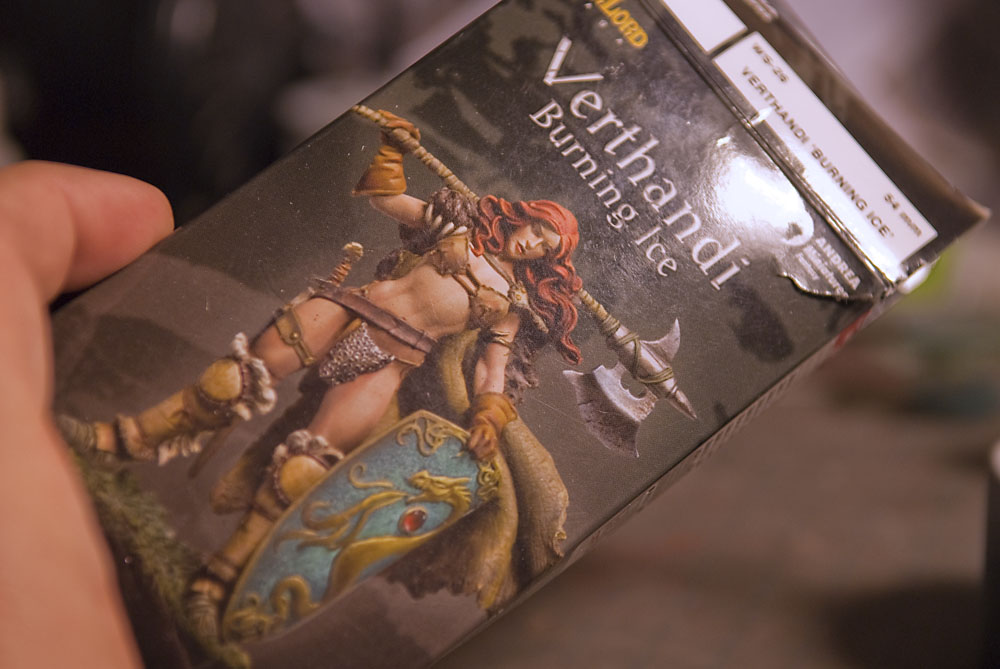
I bought this awhile back. It's a 54mm fantasy figure from Andrea miniatures. I'm working on this now because I just want to paint a figure and not deal with building/detailing. Plus after the SCAHMS show, i'm in a figure kinda mood..
Here's the box.
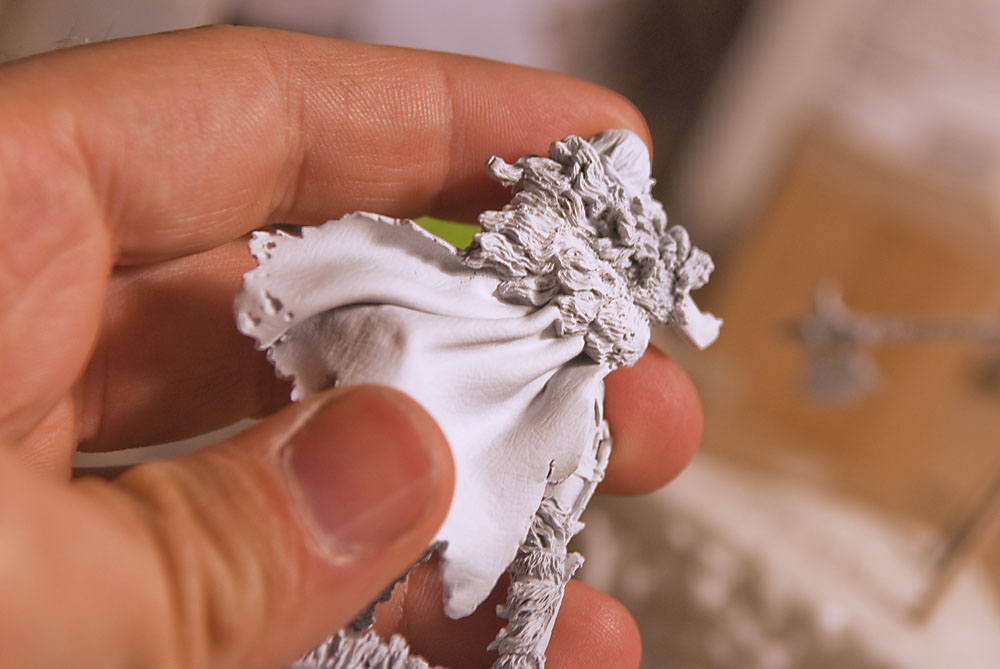
So, first off, she's made of soft metal. First steps were to clean up the mold lines, which I did. The metal is soft, so it's basically the same as a plastic kit. After that is a test fit followed by parts pinning. Basically drill holes and stick the parts together with a piece of wire. During the test fit, I noticed there's a huge gap in the back of her cape. I wish i'd taken 'before/after' pics, but you only get an after. As you can see in the pic, there's no more gap. What I did was use a little 'green stuff' putty to fill the gap and resculpt a little detail on it.
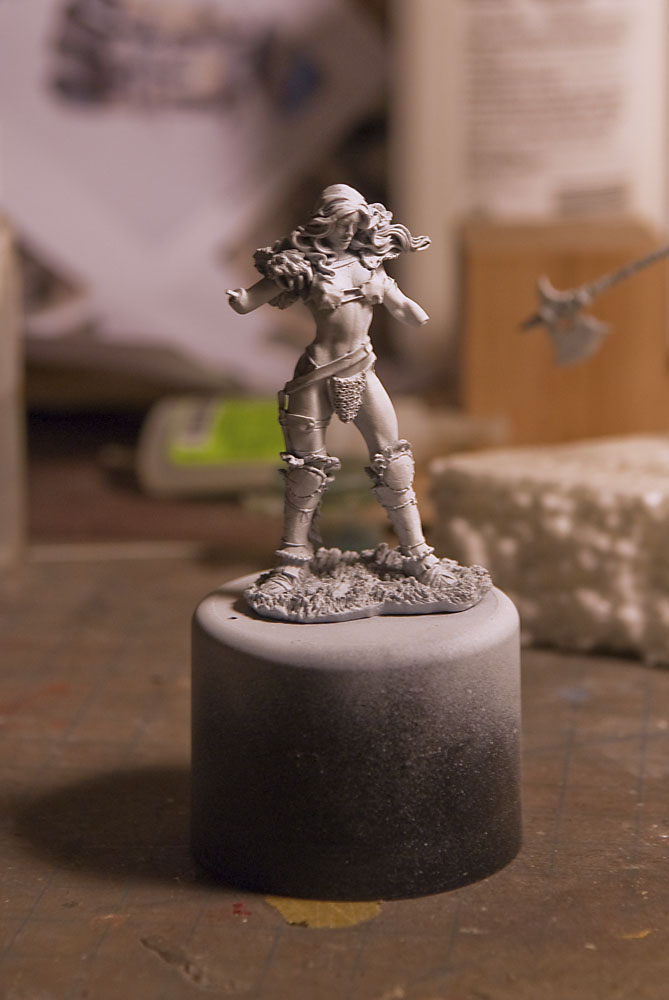
Here's the figure primed, and below that is the first layer of paint. She's gonna be a white chick, but i'm starting with a dark base layer for the skin. This is actually different than my usual figure painting, where I would paint a medium tone and add highlights and darks, but this technique is something artists use for painting on canvas, so I thought i'd give it a try.
That's it for today.
Here's the box.
So, first off, she's made of soft metal. First steps were to clean up the mold lines, which I did. The metal is soft, so it's basically the same as a plastic kit. After that is a test fit followed by parts pinning. Basically drill holes and stick the parts together with a piece of wire. During the test fit, I noticed there's a huge gap in the back of her cape. I wish i'd taken 'before/after' pics, but you only get an after. As you can see in the pic, there's no more gap. What I did was use a little 'green stuff' putty to fill the gap and resculpt a little detail on it.
Here's the figure primed, and below that is the first layer of paint. She's gonna be a white chick, but i'm starting with a dark base layer for the skin. This is actually different than my usual figure painting, where I would paint a medium tone and add highlights and darks, but this technique is something artists use for painting on canvas, so I thought i'd give it a try.
Saturday, March 19, 2011
1/48 Tiger S33 - Complete!
So, here are the final pics of my Tiger. It was a fun build, but I had some issues. The WWII productions resin tracks for example. They snapped together easily, but when it came time for paint, they kept falling apart and driving me insane! The Eduard photoetch makes the kit look awesome, but again, it drives me insane! I lost quite a few pieces and had to scratch build a lot of things.. it sucks.. but once you go photo-etch, it's hard to 'not' use them after.
Anyways, enjoy, and note in the last pic, my new silver medal that I got at the SCAHMS show today!
(click the pics for a bigger view)
Anyways, enjoy, and note in the last pic, my new silver medal that I got at the SCAHMS show today!
(click the pics for a bigger view)
Oh.. and my Tank Commander got a bronze! Woot!
1/48 Tiger - Progress
I know.. it's been a while since I posted anything. Let me apologize about the AFS kit. I started it and intend to finish, but it's been put on hold for a bit. Mostly because I was having trouble finding a suitable base, and when that happens, it kills my motivation, but that's been taken care of and it'll resume in the near future. Another reason I haven't been working on it is because I wanted to finish the Tiger I that I started almost exactly a year ago.
Here are a couple in progress shots.
Primer
Base color followed by camo and decals.
Now let's talk about road wheels. The Tiger has a lot. Painting them can seem like a bitch, but here's an easy way.
Here they are.. ugh.. looks intimidating.
But not really.. first step is to pain them all black, which is the outer rubber color.
Then take a circle template, used for drafting/arts and find a hole that matches the inside "metal" part of the wheels. Stick the wheel in the hole and paint the metal color.
And voila.. painted wheels.
Next up is the finished pics.. i'm making a new post for it because i've already posted a lot of pics in this one.
Wednesday, January 12, 2011
Ma.K AFS II 01.12.11
Been a while since i've worked on this. I haven't quit on it, just was busy with the holidays amongst other things.. but here I am again.
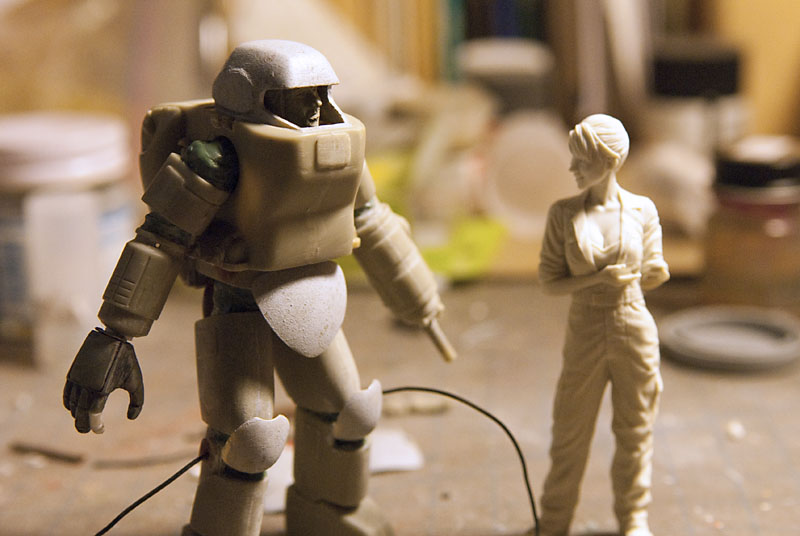
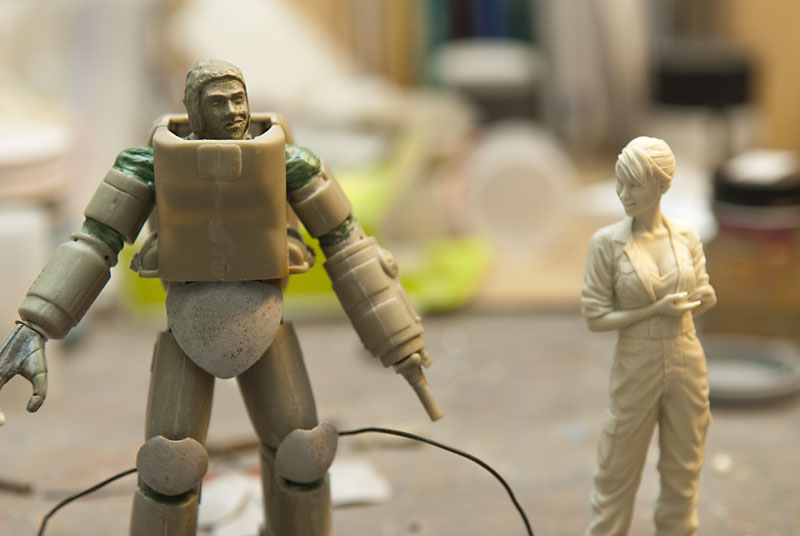
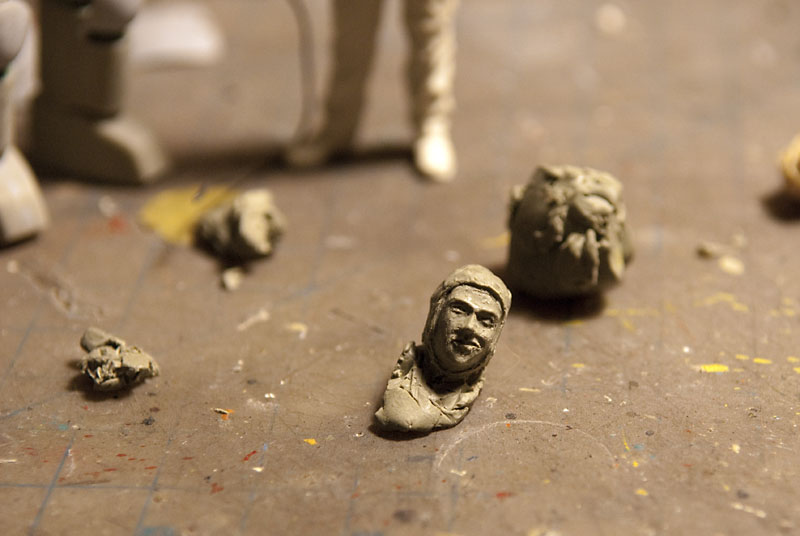
I might've mentioned before that the suit had no pilot head. Or maybe I didn't.. *shrug... anyways, It had no pilot head. At first I was gonna just make it an empty suit, but when I stood the girl mechanic next to it, with her big smiling grin on her face, it just seemed weird. I mean, what's she grinning at? Inside joke? Maybe she's just a little crazy (she is a woman after all.. j/k ladies.. wait.. ladies reading a model blog? ..nevermind) Anyways, where was I.. oh yeah, it seemed weird that she was laughing at nothing, so I decided to just sculpt my own head. So here's a few shots of where it is at the moment.
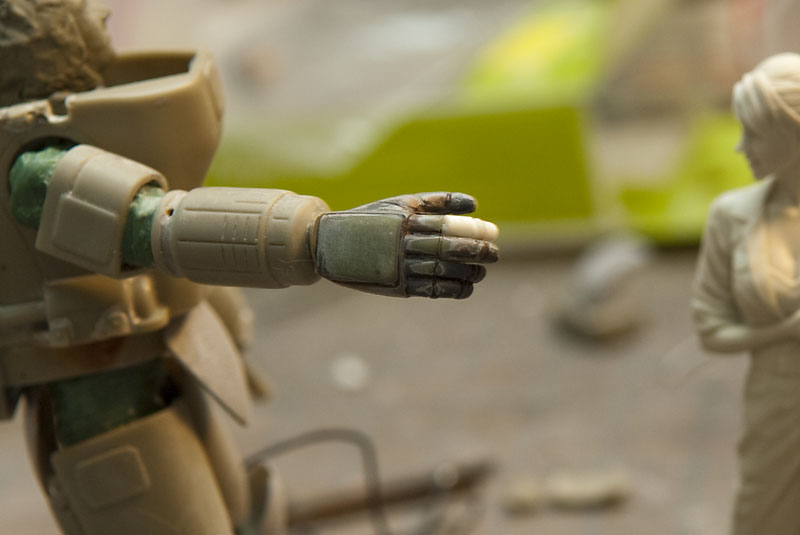
I also tried working on the hand. Spreading the fingers apart, but the original part broke when I tried sawing it. I mean it shattered into pieces.. lame.. luckily I had an extra hand from another kit. Of course, one of the fingers broke off, which is why the forefinger is white here. I had to make it from scratch. It turned out ok though.
So that's it for now... later.
Tuesday, November 16, 2010
Ma.K AFS II 11.15.10
I added some joint covers with 'green stuff' putty. Next thing i'm planning to do is rebuild the hand. The old Nitto hand sucks compared to the recent Wave version. (Nitto = old manufacturer, Wave = current btw) Plus the hand on mine is broken anyway.. I'm also still deciding on the setting, and if I want to put a pilot head inside the suit or leave it empty.. decisions, decisions..
Thursday, November 11, 2010
Next Up! Ma.K AFS MkII with female mechanic.
I got a few Ma.K, or Maschinen Krieger, kits from someone that were partially assembled, or broken, or just scraps for free. I don't remember who it was.. but the one that's most complete is this AFS MkII suit. AFS stands for Armored Fighting Suit btw...
Check this link for more info:
http://www.roboterkampf.com/html/mak/index.htm
So, I bought this female mechanic, from the company Brick Works. She's made specifically for the Ma.K universe, I think she's on the Mercenary side (good guys I think). It's a nice sculpt, and I can't wait to paint her, but she needed something to go along with her, and what's better than a mech suit?! (Answer = not much) Enter the AFS MkII. Since it was built already.. mostly anyway, and then some pieces lost or broken, it's going to need some work. It's missing the pilot's head, but not a big deal since i'll probably just make it an empty suit anyway. Like I mentioned before, most of it's there, so it shouldn't be difficult to get it up to specs.
I still have to figure out a layout for the base/vignette, but in the meantime, here are a couple of in progress shots.
First up is the overall pic
These are some of the armor parts that I started putting texture on with some Mr. Surfacer 500 and the smashing up and down technique. http://www.bhop73.com/models/texture_tut/smash.gif
Check this link for more info:
http://www.roboterkampf.com/html/mak/index.htm
So, I bought this female mechanic, from the company Brick Works. She's made specifically for the Ma.K universe, I think she's on the Mercenary side (good guys I think). It's a nice sculpt, and I can't wait to paint her, but she needed something to go along with her, and what's better than a mech suit?! (Answer = not much) Enter the AFS MkII. Since it was built already.. mostly anyway, and then some pieces lost or broken, it's going to need some work. It's missing the pilot's head, but not a big deal since i'll probably just make it an empty suit anyway. Like I mentioned before, most of it's there, so it shouldn't be difficult to get it up to specs.
I still have to figure out a layout for the base/vignette, but in the meantime, here are a couple of in progress shots.
First up is the overall pic
These are some of the armor parts that I started putting texture on with some Mr. Surfacer 500 and the smashing up and down technique. http://www.bhop73.com/models/texture_tut/smash.gif
Subscribe to:
Posts (Atom)