Tuesday, December 20, 2011

Verthandi Update!

Since I left off, i've done quite a bit of painting to her.  Her body section is mostly done, just the hair to go.  I also painted her cloak, which came out better than I thought it would.  After the hair, it'll just be the shield and axe.. and the groundwork I guess.. still trying to decide if I want to mount her on a proper base or just on this metal display that she came with.


Saturday, September 3, 2011

Panzer III - On the move

I'm still not 100% done with my Panzer, but I took it out to the park for a drive today.  It seems the internal antenna isn't good enough, so i'm gonna have to do something about that.. other than that, it seems to run ok.  It had a rough time over some rocky sand, which made it throw a track once, but that can be avoided with some careful driving.


Wednesday, August 24, 2011

Panzer III - Weathering

Finally the fun stuff.  Making the model look used.  Desert tanks took a lot of abuse from the elements.  I've seen reference where a lot of the paint is worn off.  This might look like overkill, but it's actually not too bad.. this is all done with Vallejo acrylic paint and a little paint brush.


The tools were painted to look like wood.. hard to tell in this pic.. the flash was a little too bright.


Next up..weathering the lower hull.


Sunday, August 21, 2011

Panzer III - base coat

Not much of an update, but I painted the base coat and most of the markings this weekend.  Also added a little weathering to the tracks with Mig pigments.  Next step, put the grills on and weathering begins!


Thursday, August 18, 2011

Panzer III.. ready for paint

I added the front track holder, more tool detail, rear rack, glued in the cannon, weld seams on the turret, some metal grab handles, commander's cupola, soldered some wires inside that had broken off, and made an external (fake) antenna that rotates up and down like the real one..

upper hull is ready for paint.


Saturday, August 13, 2011

Panzer III.. getting into detail..

So, when I first began this paint/detail project, I decided I wasn't going to take it too far.  A few minor things and paint and that'd be it.. well, i'm already taking it farther than I intended, but i'm still limiting myself.

This update has a few little details.  They seem small, but they were time consuming. 

First off is weld beads made from epoxy putty. (green stuff)  I think this is one of those simple additions that adds a lot of character to a tank model.  Only the front is pictured here, but it goes all the way around most of the hull panels.  I didn't do everything in the spirit of 'not taking it too far' but I think i'm getting all the major parts.


You can see a few more welds on the rear deck here, but what is most obvious is the clamps and rear rack.  I was originally just going to use the kit tow cables, but started thinking how much cooler an Afrika Korps tank would look with a rack full of jerry cans, so bought some resin jerry cans and I made a rack out of styrene loosely based on some reference photos.  Now since there's a rack with supplies, which will probably include a tarp on at least part of the rear deck, I decided to relocate the tow cables.  I've got some framing wire that'll make that handy, although i'm going to have to create the eyelet parts somehow.  I don't want to spend any more money to buy pre-built cables... it's been an expensive month already with my Hooben T55 purchase, brakes for my truck, parking ticket, partying all night last weekend.. ugh..


As I mentioned above, i'm relocating the tow cables, so now that means the rear deck is empty.  There should be clamps and hooks for the cables.  So I made some out of styrene and some brass that was leftovers from old photoetch parts.


Last, but not least for this update is tool clamps. I have some Aber PE tool clamps, but they're so complicated, I just didn't want to use them for this build.. so I made some fake non-working ones.  I think they look ok.


Wednesday, August 10, 2011

Big Scale T-55

I've always wanted a big 1/16 RC Tamiya tank kit, but never really could afford one since they're all close to $1k even without a radio... or didn't want to spend that much on a "toy" anyway.  Plus, with the lower priced Heng Long tanks as an alternative, I figured i'd be ok with that.

A couple years ago, a Chinese company called Hooben released a kit for a 1/16 RC Russian T55 tank.  It's a "modern" tank, which is more rare in the RC world since WWII tanks seem to be preferred by the manufacturers.  I've always loved the design of the T55, a tank that was the most produced tank of all time, is still in service in many countries around the world.  Needless to say I wanted one, but because of the price, I didn't think much of it... until recently, when someone on one of the RC tank forums brought it up again.. next thing you know, my brain is failing me and i'm spending some major cash to get one.  Not as much as a Tamiya kit, but probably still more than I should have.. oh well, you only live once eh?

So I'm not going to start building it for a while.  I still have my Panzer to finish (there has been progress, just not enough for a new post), and I want to finish the other projects i've started, but I did take it out and look at it.  Here are a couple pics of it with my 1/35 T55 that I built a few years ago for scale reference.  It's going to be so cool!

-laters
bhop


Sunday, July 31, 2011

1/16 Panzer III L - continued 7-31-11

Just a small update, but it's something..

First is the headlights.  I added some plastic to the top and bottom leaving the slit in the middle.  I can't figure out what you call this type of light, but it seems to be used on all german vehicles in combat, while factory pics all seem to have 'regular' lights.


I built the inner frame for the intake vents out of styrene sheets.  It looks a little messy, but when the PE grills are on, and painted/weathered it should look fine.


 and last for now, I scribed some "wood grain" into the jack block.  Again, it looks a little goofy now, but after paint/weathering it should be good.

Tuesday, July 26, 2011

1/16 Panzer III L

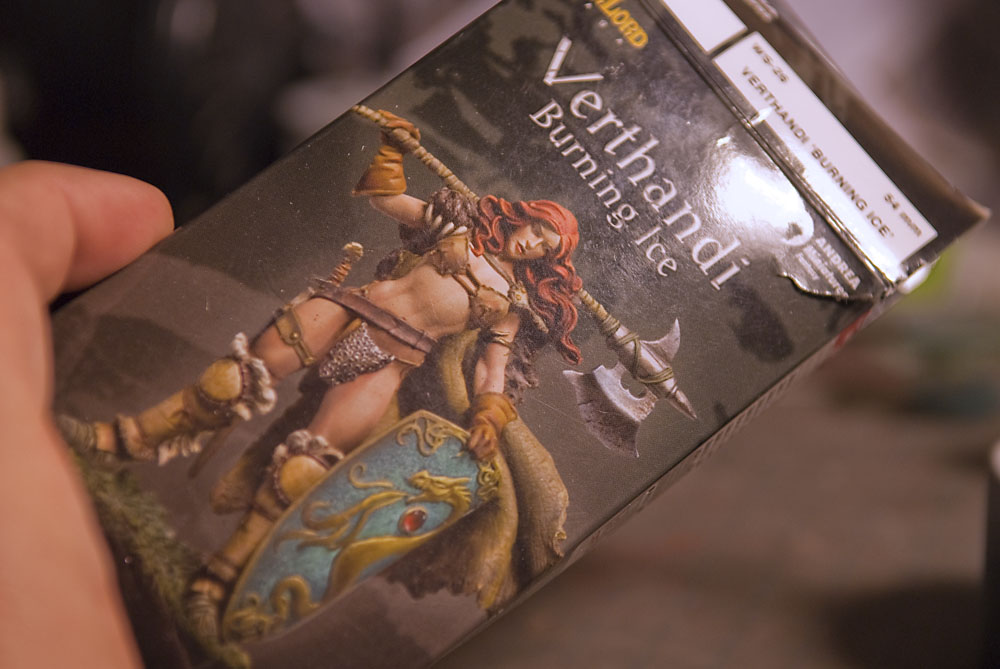
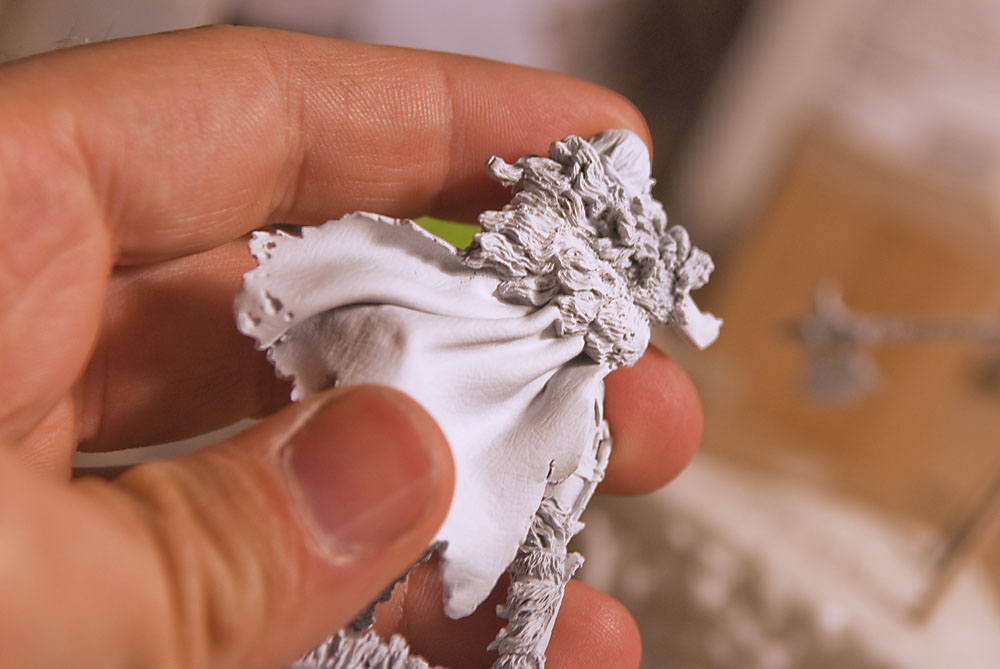
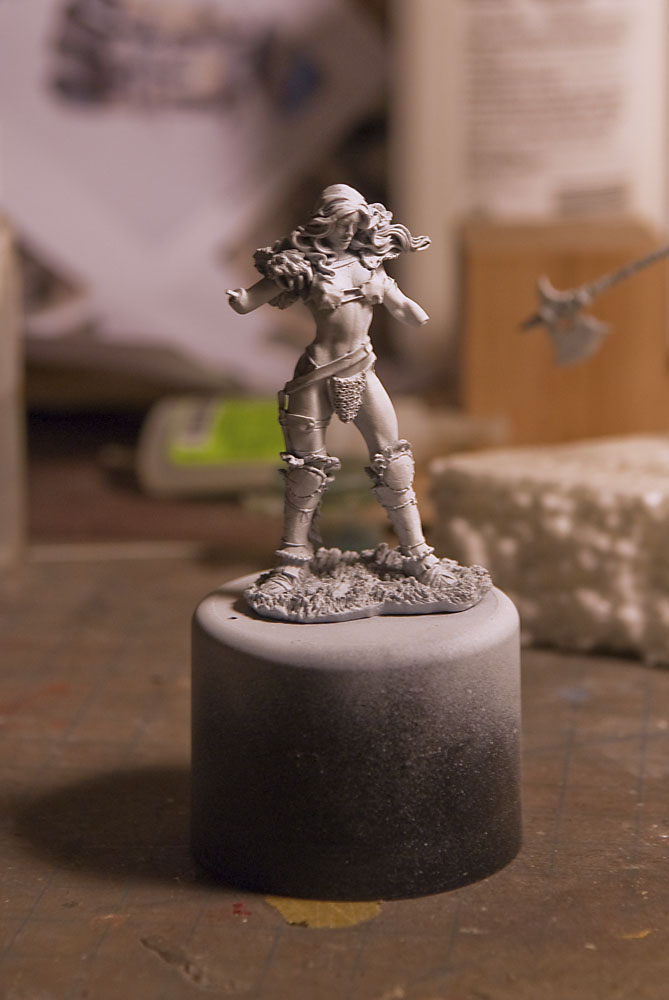
If it seems like I start projects and don't finish.. well, maybe that's the case, but not really, I just put it off for a while.  Still working on the MAK vignette.. still working on the Verthandi figure.  There are some Gundam mobile suits I have been working on, but lately what's been taking my time is this 1/16 RC Panzer III L.

I've had it for a couple years now.  I played with it for a while until the gears stripped.  Then I ordered some metal upgrade gears and put it aside.  Like I said, that was a couple years ago.  Well, last month, I got the urge to get back to it, mostly because I found a cool spot for tank play in Griffith Park and my other two tanks weren't working right.  So here we go.  This one I will finish soon.  I'm not superdetailing it, because it's just an RC runner, but I am doing some detail work to it because I just have to make it look cool..

First off, I bought a metal upgrade kit for it, which consists of metal drive sprocket, rear idlers, suspension, and tracks.  I also bought some rear idler adjusters, metal barrel to replace the airsoft barrel with a more scale gun, and some PE parts for the rear grill and tool clamps.

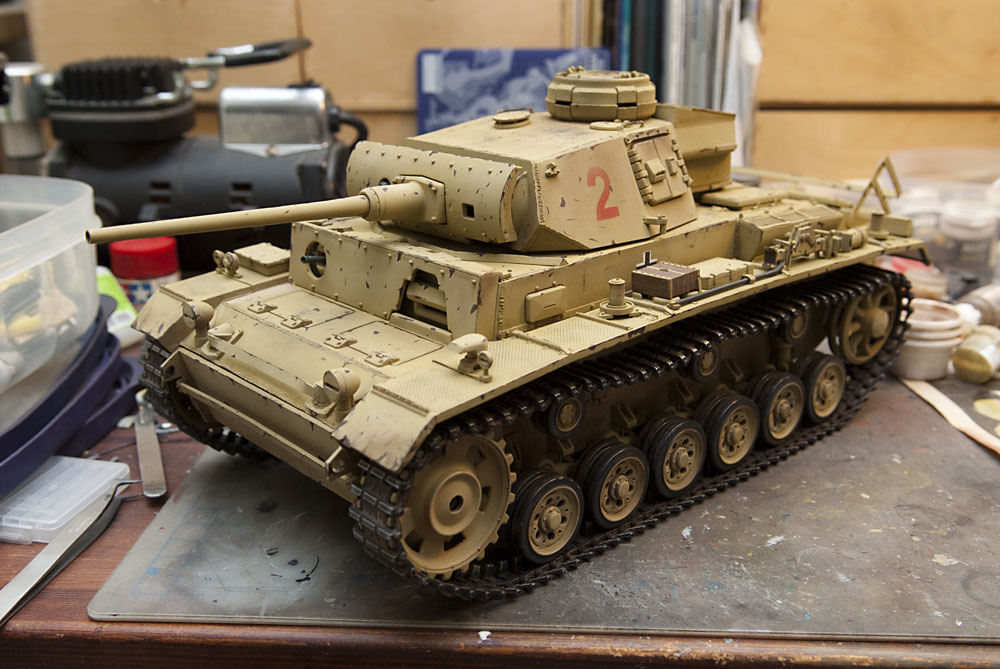
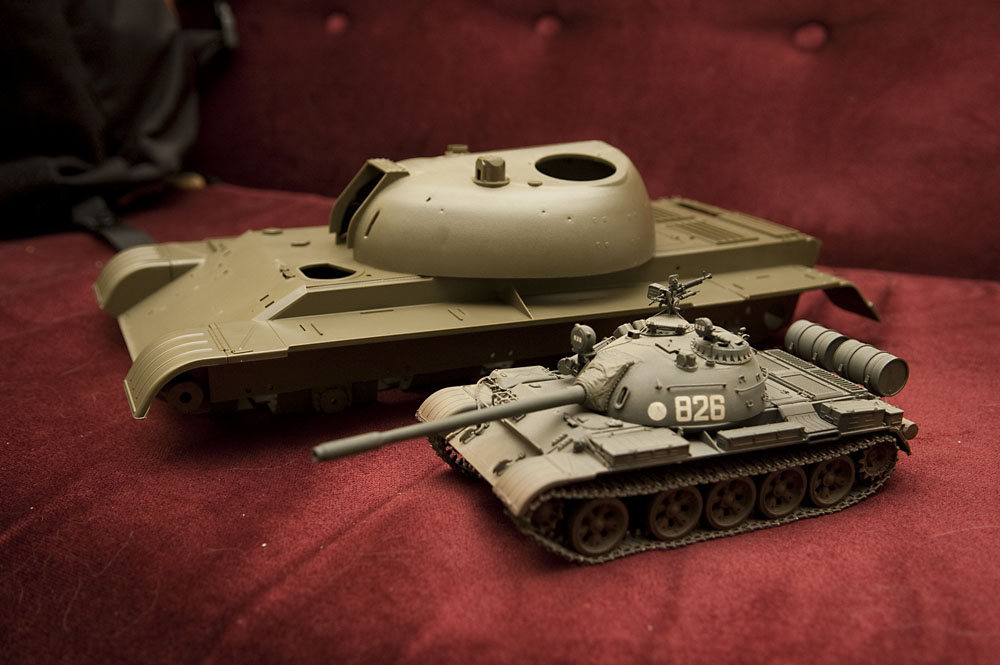
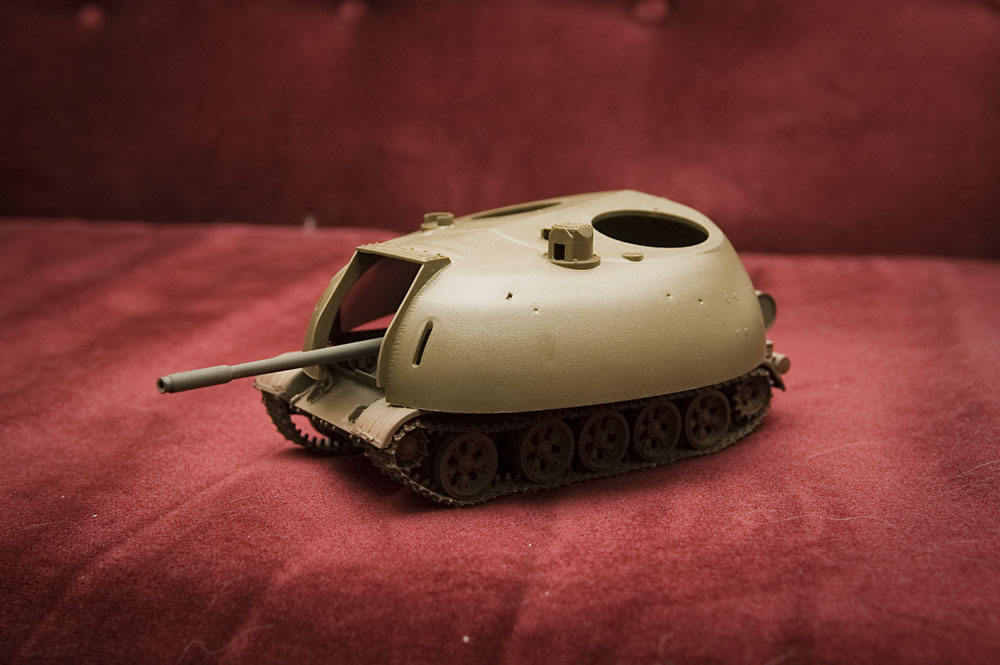
I decided to paint it in the DAK (Afrika Korps) desert yellow color.   In the end it should have some nice chipping effects and weathering.  So far i've gotten the lower hull done (minus the weathering) and am moving on to the upper hull.

The metal shocks are much more realistic looking than the old ones.  These are also the metal tracks.  I've tested it around my living room and they seem to work great.


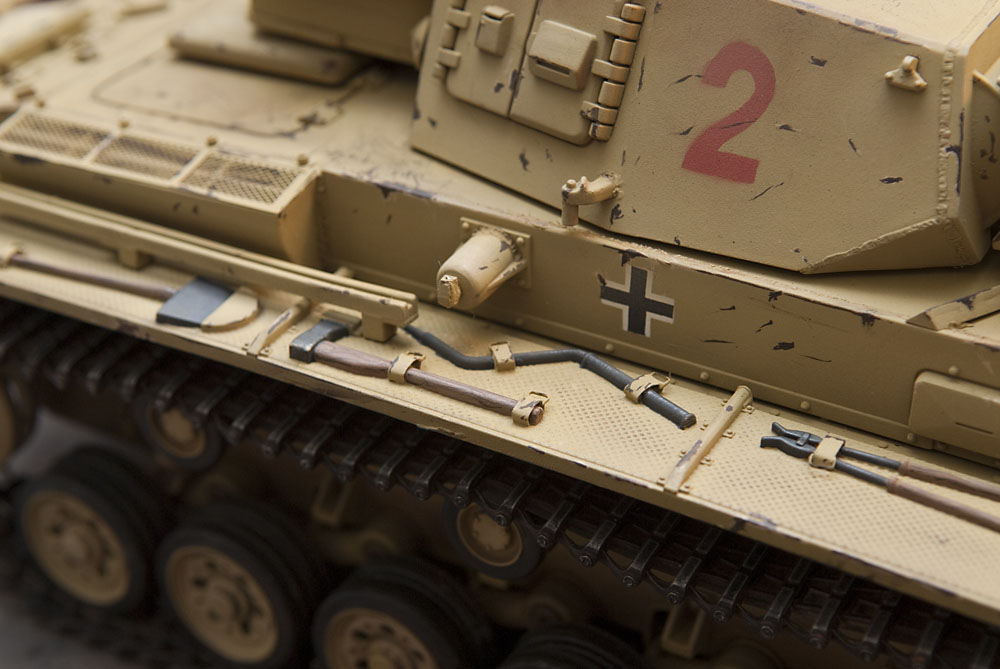
Next up, I replaced the front single molded spare tracks with some of the leftover plastic tracks.  I had to modify the front rack to hold them, but I think it's going to work ok.

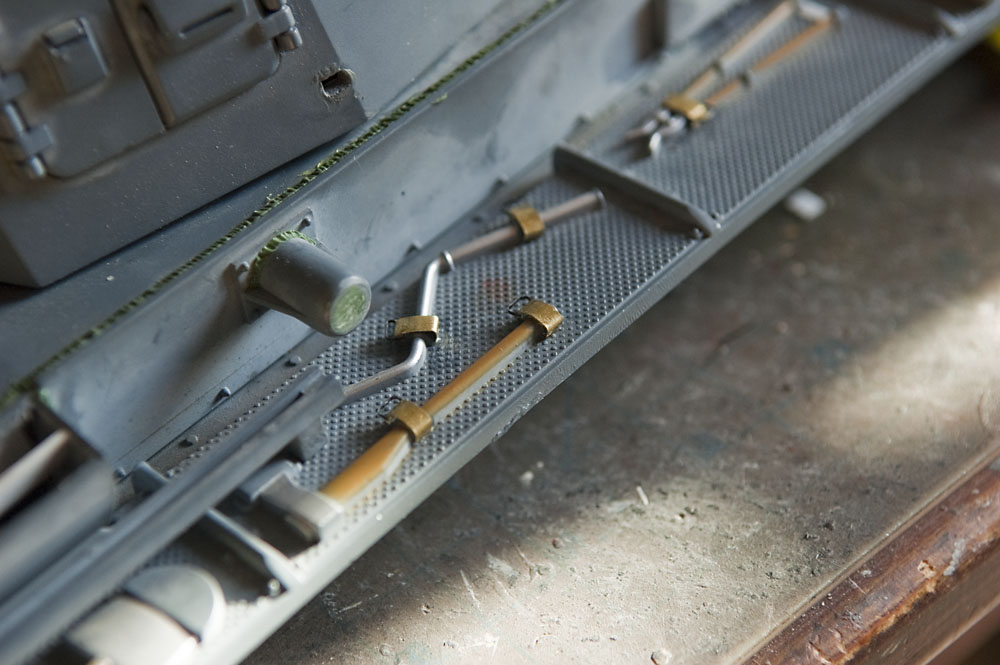
I added texture to the muffler and painted it.  You can kinda see it on the lower part.  That smooth top part isn't going to be visible.  You can also see the idler adjuster here.  It actually works, not just for looks.

Metal gears soldered in. 


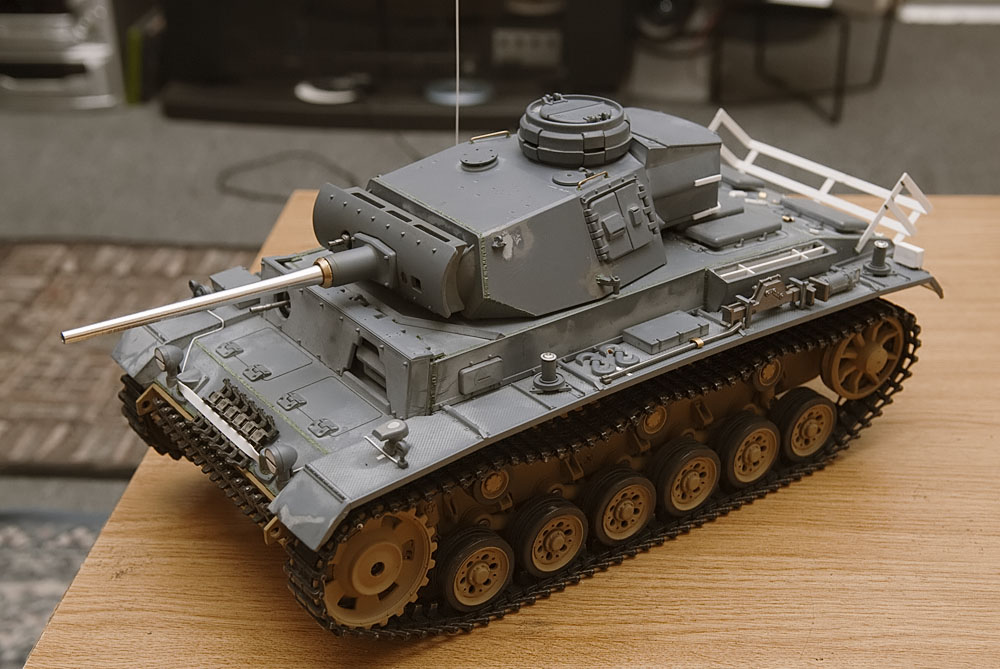
I removed the big 'rc' antenna on the rear deck and replaced it with this internal antenna.  So far it seems to work ok, but I have yet to test it outside at a further distance.
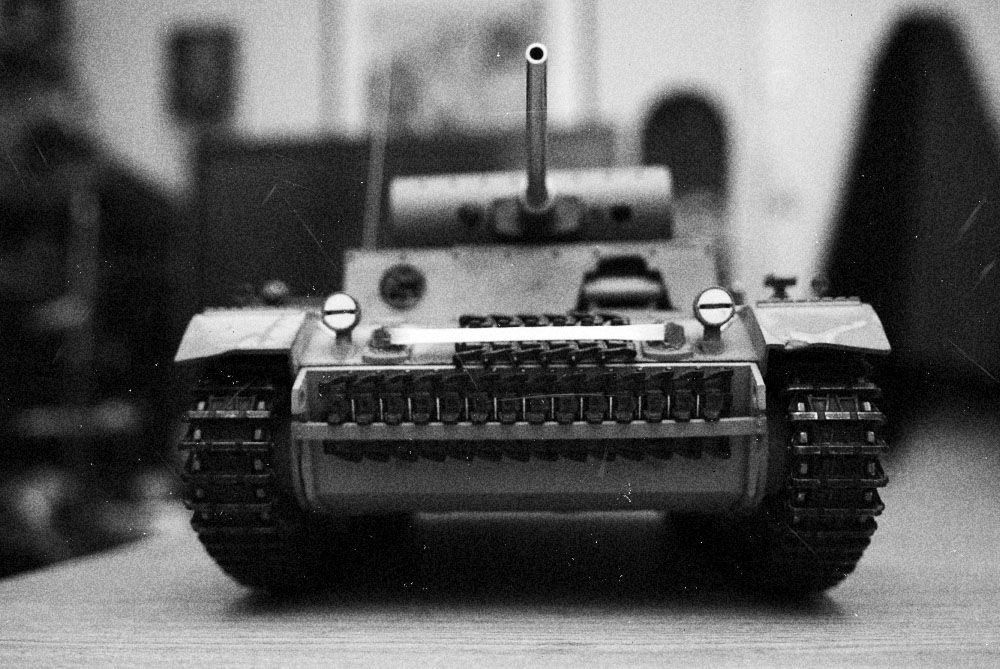

Metal barrel.
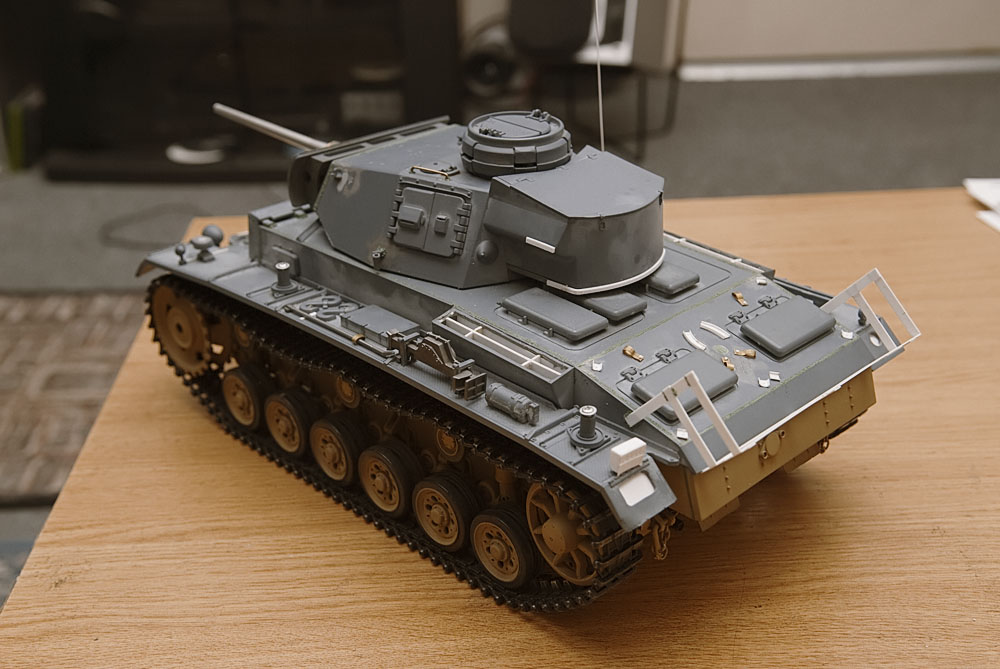
I fixed the crooked commander's cupola and moved the hatches so that they still open on the sides.


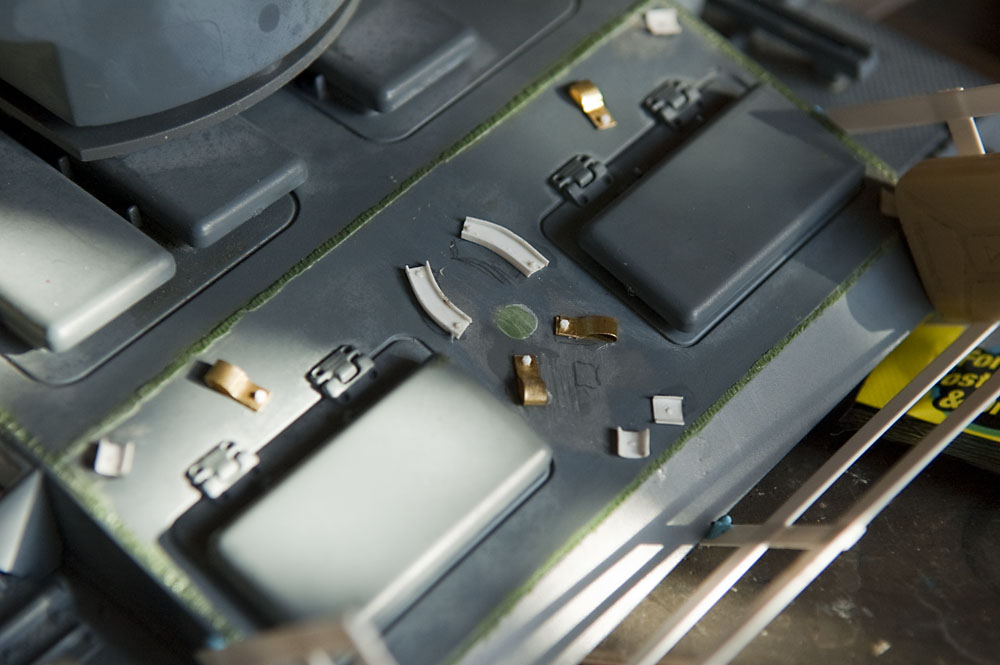
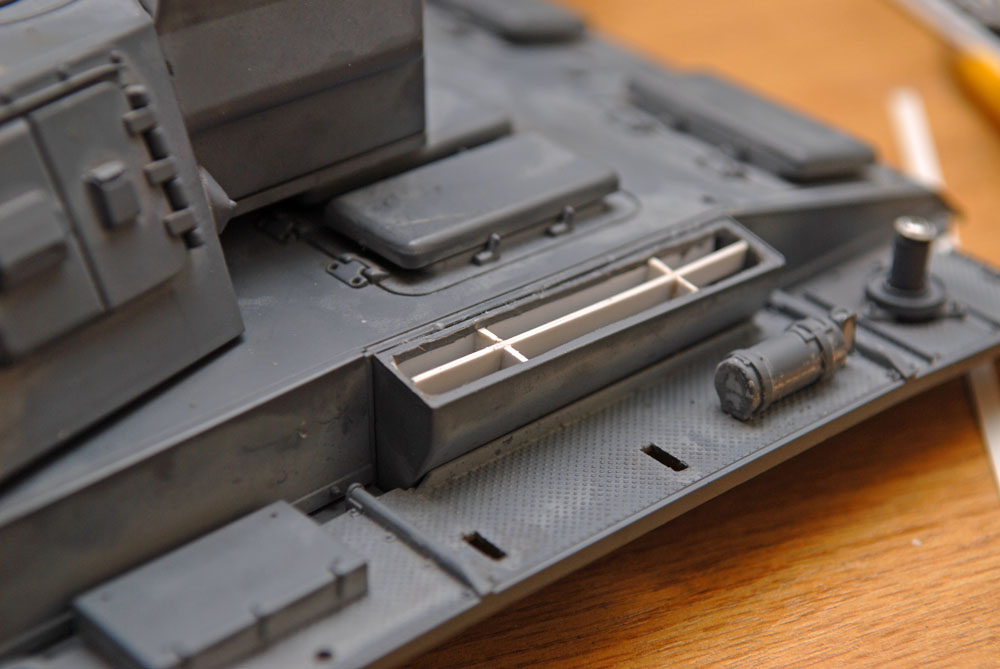
Metal grills required cutting the intake boxes on the sides.  I have to smooth it out some more, but they're on their way.


I cut the front lights in order to make room for a more accurate front 'slit' headlight.. dunno what else to call it..


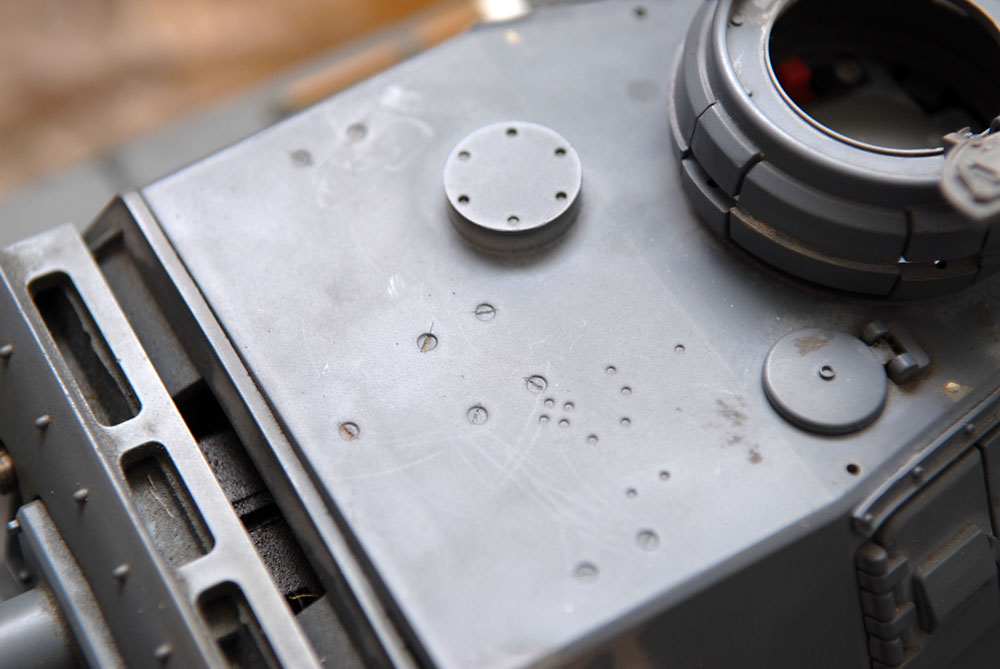
And last for now, the little holes on top of the turret are actually screws on the real tank, so I added screw lines with a scriber.  I need to clean a couple up a little, but it looks better.


So that's it for now.. next up, intake clean-up work, then more work on the upper hull!

Monday, April 4, 2011

Verthandi - Burning Ice - Legs/Bra?

Progress is slow, but it is progress.  I worked on her flesh tones a little more, trying to fine-tune it.  I may go in with some pastels later for even more.  I got the bra (or whatever you want to call it) done, then back of the loin-cloth, worked on the leg leathers and the boots.. that's about it for now.


Monday, March 21, 2011

Verthandi - Burning Ice - Flesh

The flesh tones are done for the most part.  I might touch it up a little, but that's about it.

I started hand brushing it last night, but it wasn't turning out like I wanted, so I ended up airbrushing since I can get a smoother finish with it.  I like the way it turned out.  Tonight I bought a couple new brushes after work and they were put to good use adding a few highlights and shadows, as well as touching up the eyes. I'm excited about this piece!  The pics really don't do it justice. :(


Sunday, March 20, 2011

Verthandi - Burning Ice

I bought this awhile back.  It's a 54mm fantasy figure from Andrea miniatures.  I'm working on this now because I just want to paint a figure and not deal with building/detailing.  Plus after the SCAHMS show, i'm in a figure kinda mood..

Here's the box.


So, first off, she's made of soft metal.  First steps were to clean up the mold lines, which I did.  The metal is soft, so it's basically the same as a plastic kit.  After that is a test fit followed by parts pinning.  Basically drill holes and stick the parts together with a piece of wire.   During the test fit, I noticed there's a huge gap in the back of her cape.  I wish i'd taken 'before/after' pics, but you only get an after.  As you can see in the pic, there's no more gap.  What I did was use a little 'green stuff' putty to fill the gap and resculpt a little detail on it.


Here's the figure primed, and below that is the first layer of paint.  She's gonna be a white chick, but i'm starting with a dark base layer for the skin.  This is actually different than my usual figure painting, where I would paint a medium tone and add highlights and darks, but this technique is something artists use for painting on canvas, so I thought i'd give it a try.


That's it for today.

Saturday, March 19, 2011

1/48 Tiger S33 - Complete!

So, here are the final pics of my Tiger.  It was a fun build, but I had some issues.  The WWII productions resin tracks for example.  They snapped together easily, but when it came time for paint, they kept falling apart and driving me insane!   The Eduard photoetch makes the kit look awesome, but again, it drives me insane!  I lost quite a few pieces and had to scratch build a lot of things.. it sucks.. but once you go photo-etch, it's hard to 'not' use them after.

Anyways, enjoy, and note in the last pic, my new silver medal that I got at the SCAHMS show today!

(click the pics for a bigger view)


Oh.. and my Tank Commander got a bronze!  Woot!